data transmission
You can transfer data between your local machine and compute instances using the following methods:
-
JupyterLab: Currently, JupyterLab does not support bulk uploads or downloads of files or folders.
-
Storage Management: Supports uploading and downloading files up to 200 MiB. Folder uploads and downloads are not supported for regular files. For large files and folders, both upload and download are supported.
-
scp Command: Supports uploading and downloading files and folders via the command line.
-
Visualization Tools such as FileZilla or XShell: Use external software to drag and drop files for upload and download.
Uploading and Downloading with JupyterLab
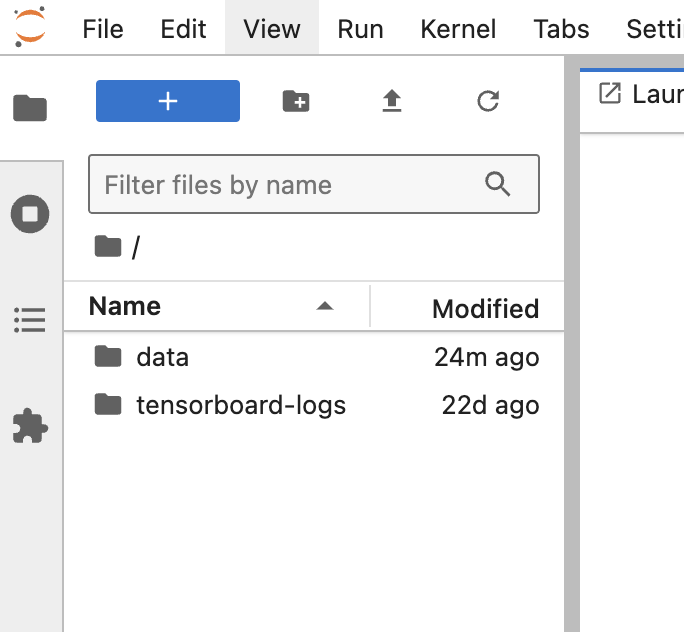
Upload
Follow the steps shown in the image to upload a file.
Download
Follow the steps shown in the image to download a file. Select the file, then right-click.
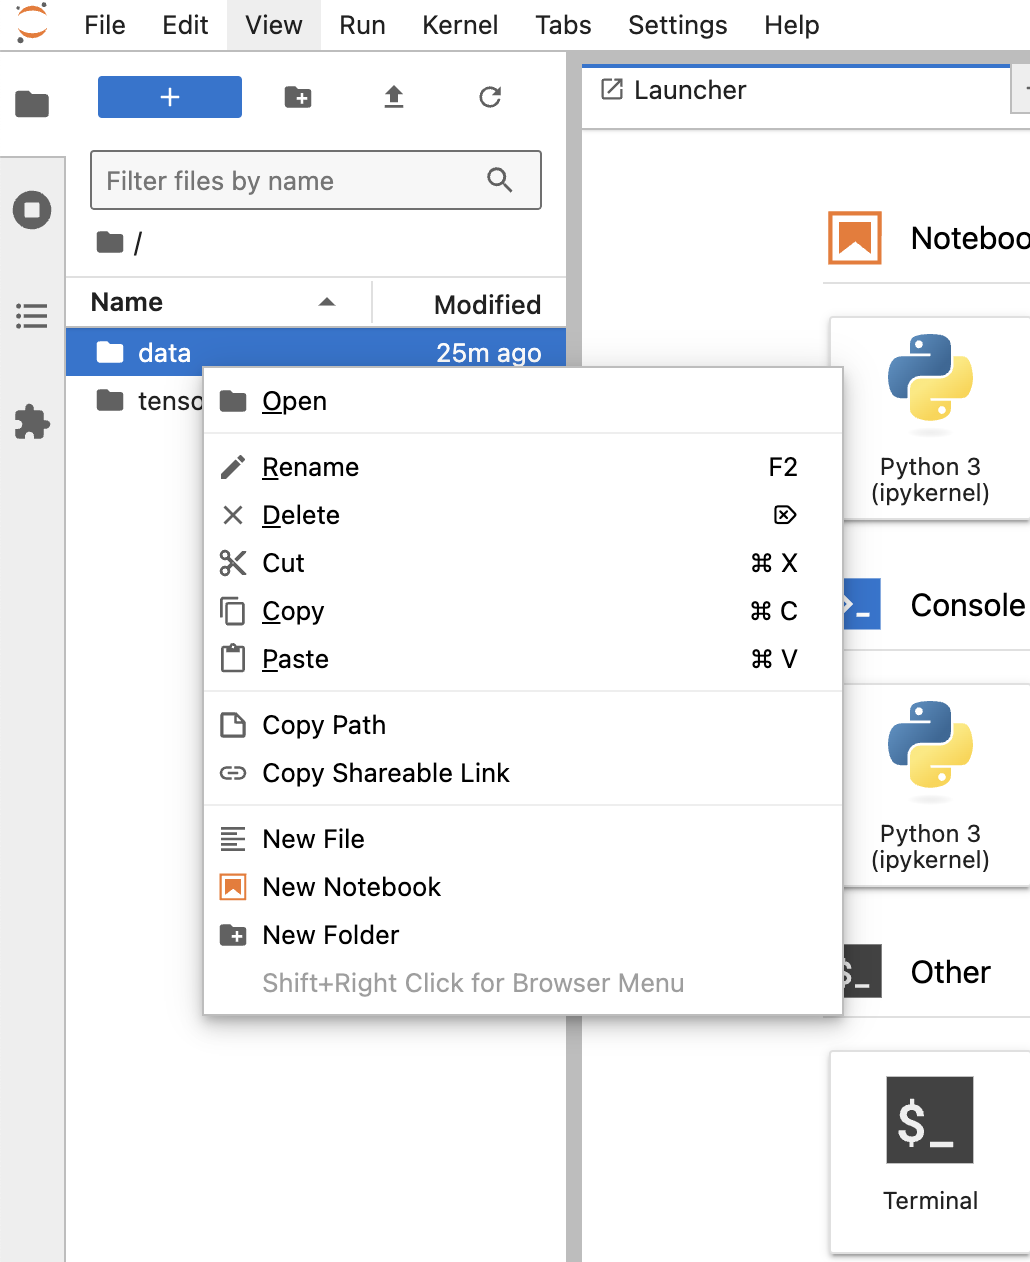
Note: JupyterLab does not support folder downloads. You can use command-line tools to compress the folder into a zip file. Here is an example of a commonly used compression command, assuming you want to compress the folder my_folder into my_folder.zip:
zip -r my_folder.zip my_folder
Uploading with Storage Management
The Storage section explains how to upload files using the storage management feature.
Uploading and Downloading with the scp Command
This method supports both file and folder uploads and downloads.
Upload
Upload a local file to the server:
# Upload File
scp -P port_number /path/to/local/file username@remote_host:/path/to/remote/directory

# Upload a Folder
scp -P port_number -r /path/to/local/file username@remote_host:/path/to/remote/directory
Parameter Explanation:
port_number: The server's port number./path/to/local/file: The path to the local file.username@remote_host: The username and address of the remote server./path/to/remote/directory: The target directory path on the remote server where the file will be uploaded.
Example:
# Upload File
scp -P 30626 ./file.txt root@fc4e4fbf-3c3e-4fce-a90a-e2ae5a6axxxx.gws.demo.cdc.datenfab.com:/root/data

# Upload a Folder
scp -P 30626 -r ./file root@fc4e4fbf-3c3e-4fce-a90a-e2ae5a6axxxx.gws.demo.cdc.datenfab.com:/root/data
Download
Execute the following command on your local machine:
# Upload File
scp  -P port_number username@remote_host:/path/to/remote/file /path/to/local/directory

# Upload a Folder
scp  -P port_number -r username@remote_host:/path/to/remote/file /path/to/local/directory
Parameter Explanation:
port_number: The server's port number.username@remote_host: The username and address of the remote server./path/to/remote/file: The path to the file on the remote server./path/to/local/directory: The target directory on your local machine where the file will be downloaded.
Example:
# Upload File
scp -P 30626 root@fc4e4fbf-3c3e-4fce-a90a-e2ae5a6axxxx.gws.demo.cdc.datenfab.com:/root/data/file.txt ./

# Upload a Folder
scp -P 30626 root@fc4e4fbf-3c3e-4fce-a90a-e2ae5a6axxxx.gws.demo.cdc.datenfab.com:/root/data/file ./
Uploading and Downloading with Visualization Tools
You can also use visualization tools such as FileZilla or XShell.